Tangit PVC-U Plus Adhesive

Features and Benefits

  • For bonding of PVC-U pressure piping systems acc. EN 14814 with diameter tolerances up to +0.6 mm.
  • Suitable for non-pressure piping systems acc. EN14680 made from PVC-U according to EN ISO 15493 (PVC-U) EN 1452 and EN 1329.
  • Not suitable for flexible PVC, please contact Technical Service.

Product Advantages

  • Approved for drinking water applications.
  • THF-free product.
  • Open time of approx. 3 minutes.
  • The bonded joints are waterproof.
  • Gap filling and thixotropic.


Packaging Details

  • 125g Tube
  • 500g Bottle

Intended
Use


  • For bonding of PVC-U pressure piping systems acc. EN 14814 with diameter tolerances up to +0.6 mm.
  • Required amount: Sufficient for approx. 30 bonds at d = 63 mm    (calculated for 500 gr).


Please note:

  • Open fire and sparking must be avoided at all costs.
  • Ensure good airing and ventilation of the working area.
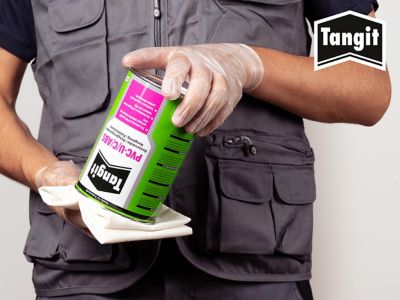
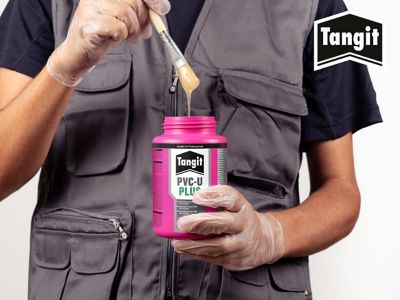
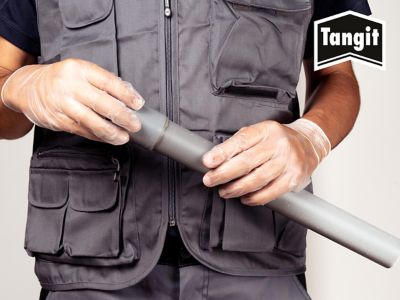
  • Wear suitable protective clothing during work.
  • Please also refer to our Technical Data Sheet and Safety Data Sheet.

Applications  

Step 1

Cut pipes: Use a pipe cutter or a light saw to bring the pipe to an accurate length. Make sure to cut it at the right angles.

Step 2

Chamfer pipe ends: Chamfer the pipe ends with a chamfering tool. A file can be used as well.

Step 3

Debur pipe ends: use a deburrer to debur pipe ends.

Step 4

Measure insertion depth: Next, measure the pipe insertion depth.

Step 5

Mark depth: following, mark the insertion depth at the end of the pipe.

Step 6

Clean pipe and fitting: ensure that both, the pipe and the fitting, are perfectly cleaned. Use a clean piece of paper tissue for each. Surfaces to be bonded must be completely dry before applying the adhesive.

Step 7

Stir the product and soak the brush well with the adhesive.

Step 8

Apply adhesive on the inside of the fitting: Slightly apply a thin layer of Tangit on the inside of the fitting in the direction towards the end of the pipe.

Step 9

Apply adhesive to the pipe end: cover the marked area of the pipe and actively, apply a thicker layer to the pipe end with firm brush pressure.

Step 10

Insert pipe into the fitting: Immediately afterwards, insert the pipe into the fitting to its full depth without twisting and align them correctly. Then, carefully remove the excess adhesive with absorbent paper